Wired Displays
Build the overlay for each screen connected to your Mac. Switch widgets on in the sidebar, set them up on the right, and arrange them directly on the display.
Finding your way around
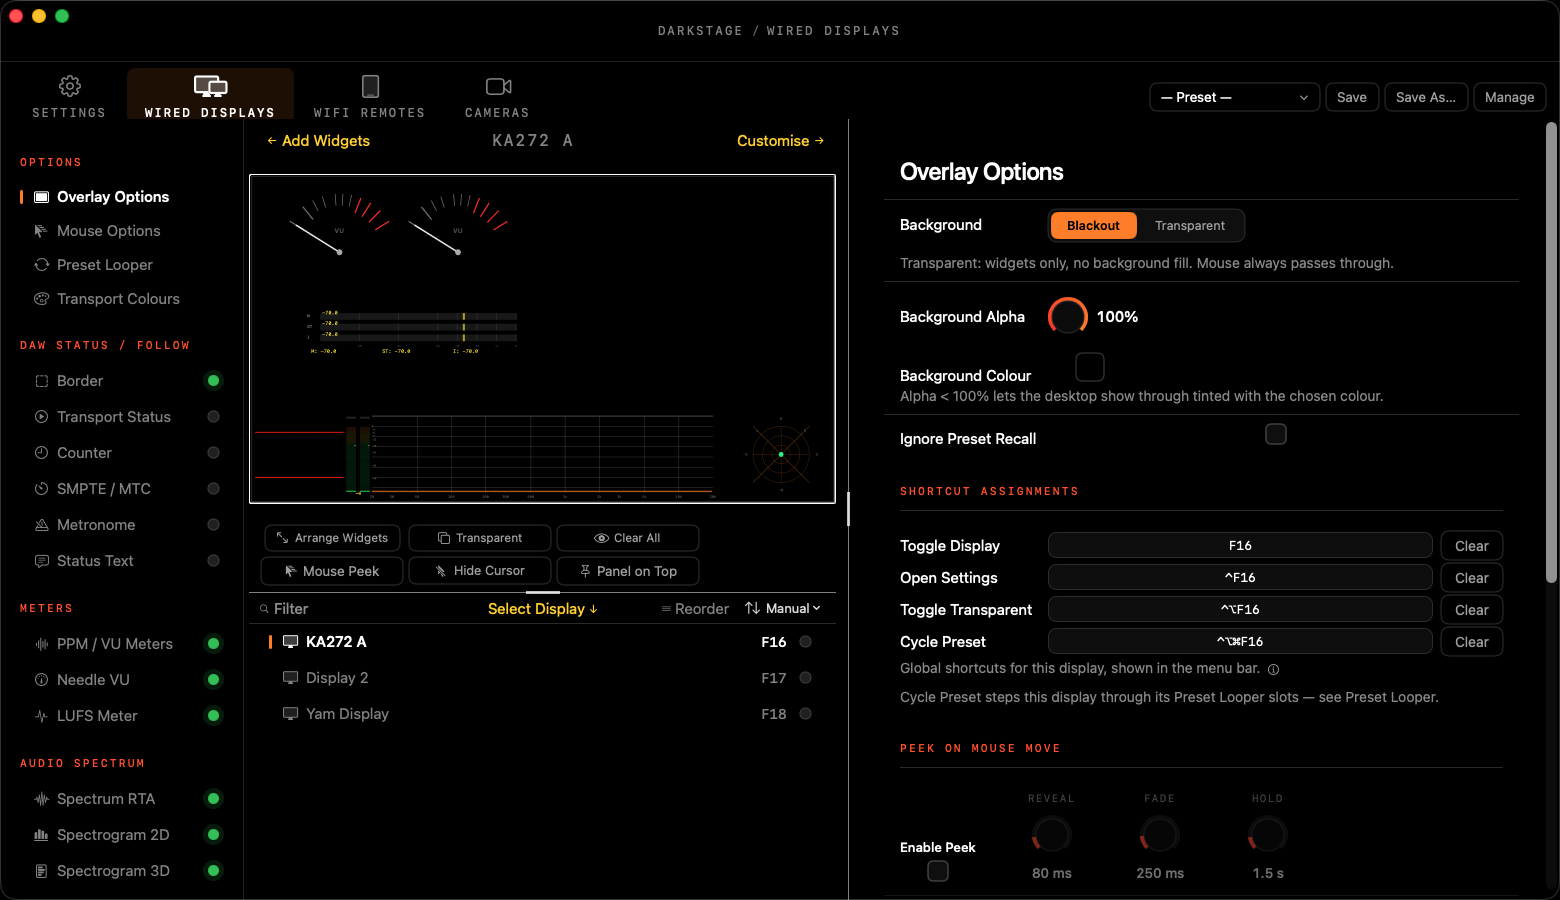
Display list and canvas
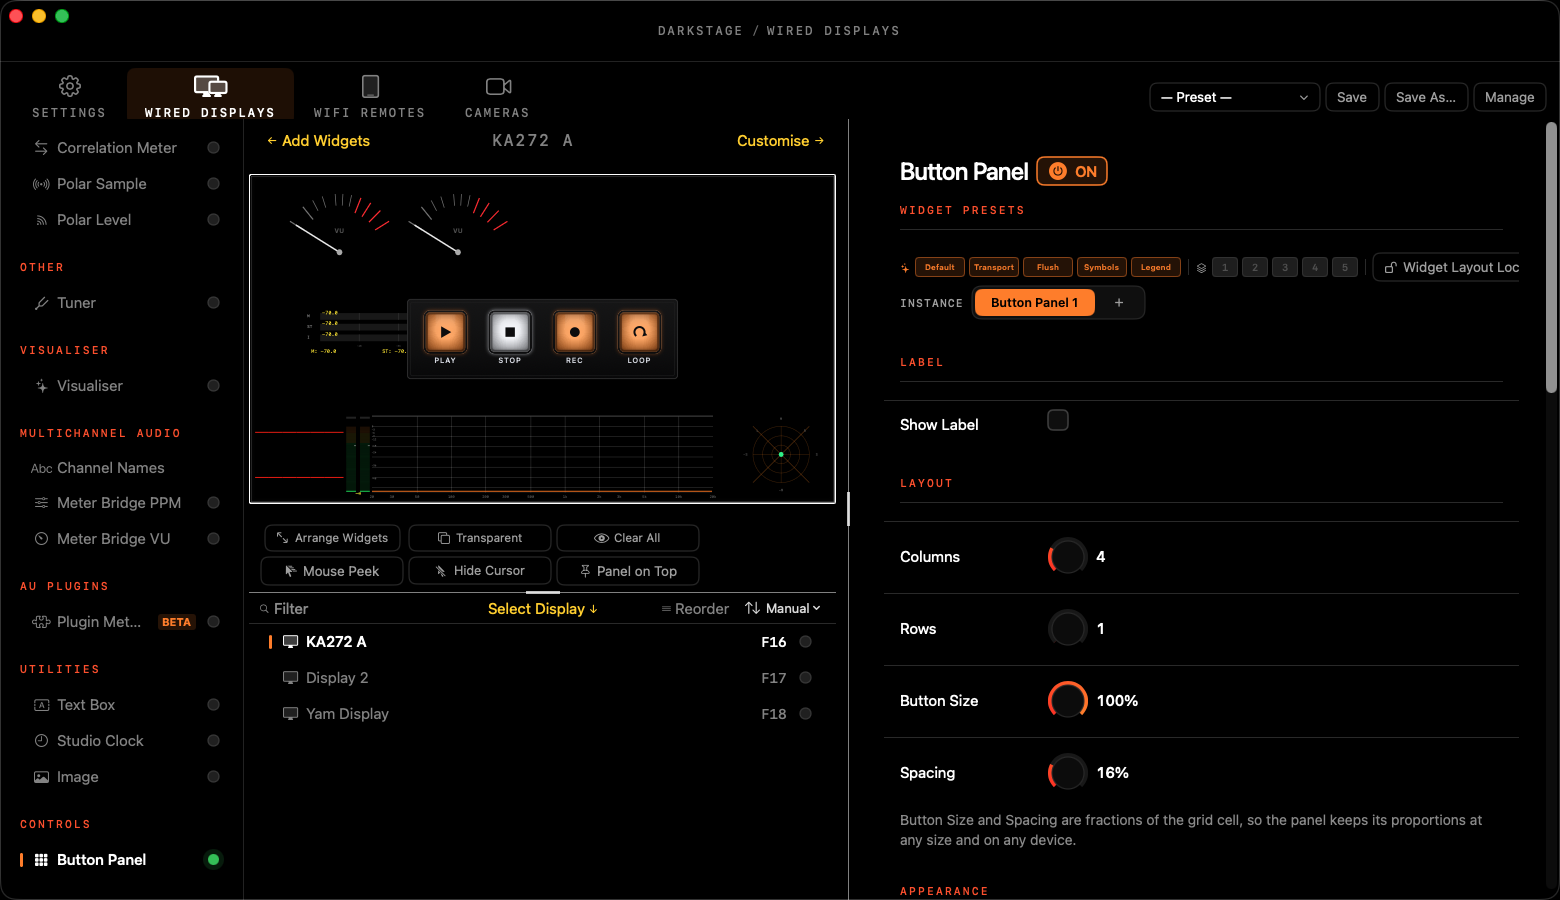
Below the canvas is a list of your displays, each showing its toggle key and an overlay on/off dot. Click a row to edit that display; its name appears above the canvas. Click a widget on the canvas to open its settings, or drag it to move it. Use Filter and the order menu (Manual, Display Order, Name) when you have lots of screens.
Drag the divider between the canvas and the settings column to give either side more room. Double-click it to reset.
Quick actions
| Button | What it does |
|---|---|
| Arrange Widgets | Lets you drag and resize widgets on a Transparent display. Blacked-out displays don't need it; see Arranging widgets. |
| Transparent | Switches between a black background and widgets floating over your normal desktop. |
| Clear All | Turns every widget on this display off. Press again to bring the same set back. |
| Mouse Peek | The overlay fades away while you move the mouse, so you can use the screen underneath. |
| Hide Cursor | Hides the pointer over a blacked-out display. |
| Panel on Top | Keeps the DarkStage window above other windows. |
Full overlay presets
The preset menu at the top right recalls a whole layout for the selected display. Save updates the current preset, Save As… makes a new one, and Manage opens the Preset Manager.
Widget presets and instances
Most widget pages start with a Widget Presets bar that stores just that widget's look. Factory looks sit on the left; your five slots on the right. Tap a slot to recall it, hold to save, and right-click for rename, copy and clear.
PPM / VU Meters, Needle VU, LUFS Meter and Button Panel can appear twice on a display. Click + beside Instance to add a second copy; right-click its chip to rename, duplicate or delete it.
Two meter instances make an easy A/B: set one to Input A (your mix) and the other to Input B (a reference track).
Knobs: double-click to reset to default, hold ⌥ Option while dragging for fine adjustment. The green dot beside each sidebar entry shows the widget is on. Use the arrow keys to move through the sidebar.
Arranging widgets
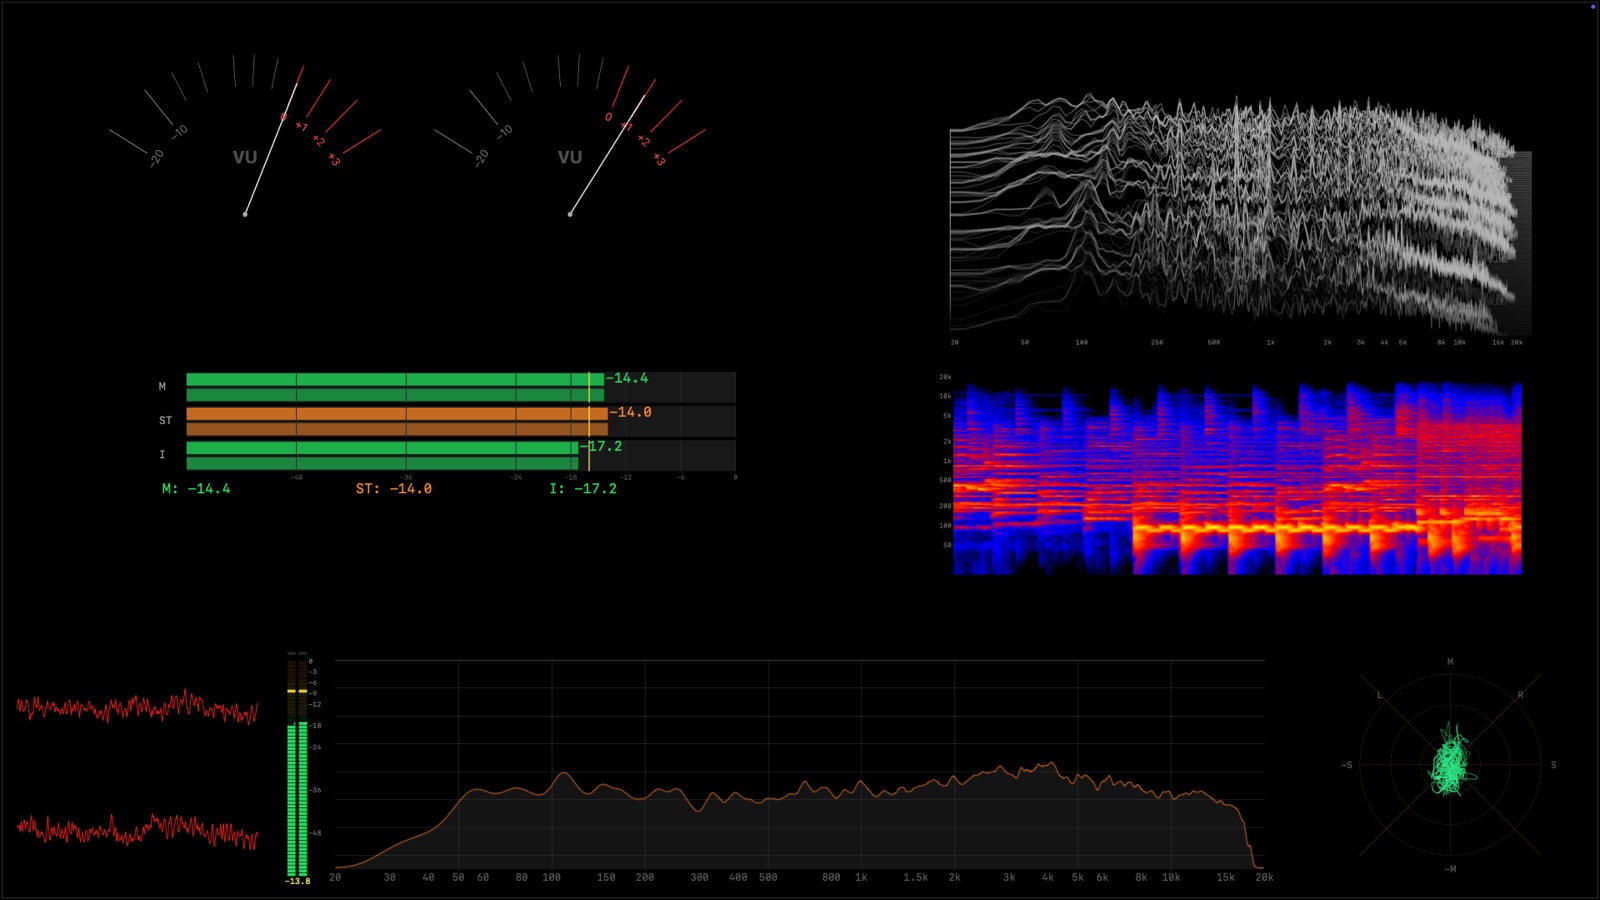
- Black out the display with its shortcut (F16 for display 1).
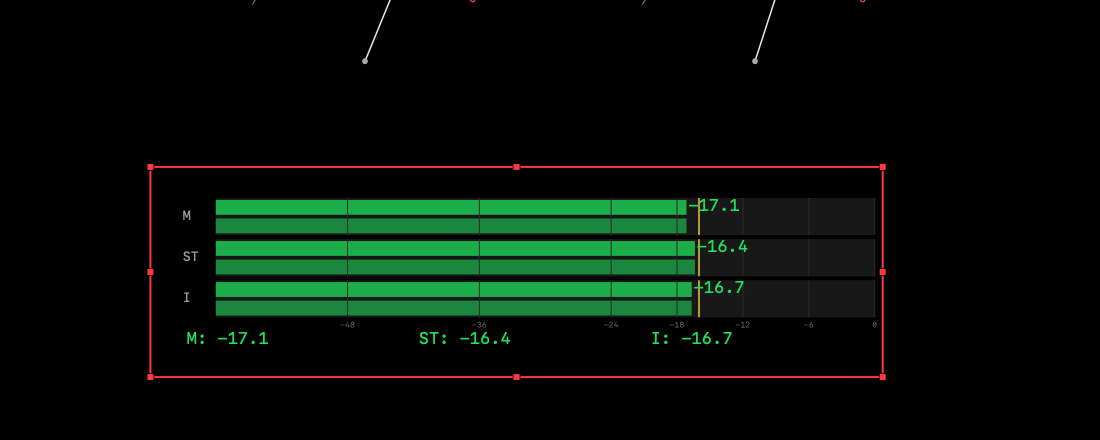
- Click a widget to select it. A red outline with handles appears.
- Drag inside the outline to move it. Drag a handle to resize; the opposite edge stays put.
- Click empty space to deselect. Press the shortcut again to hide the overlay.
| Do this | To |
|---|---|
| Hold Control | Arrange without triggering anything: shows a hidden pointer, holds Mouse Peek off, and lets you drag a Button Panel, Notepad or Cutout instead of pressing, typing or clicking through it. Let go and everything returns. |
| Hold Shift | Stop Mouse Peek hiding the overlay while you move the mouse, for example to click a plug-in meter's buttons. |
| Esc | Cancel a drag in progress. Press again to deselect, or on a Transparent display, to finish arranging. |
| Click where widgets overlap | Selects the smallest one, so a small widget on top of a large one is always reachable. |
Blackout vs Transparent. A blacked-out display can always be arranged directly. A Transparent display lets every click through to your apps, so turn on Arrange Widgets first, and turn it off when you're done. While it's on, Hide Cursor and Peek pause.
The selection outline fades after a few seconds so you can judge the layout, but the widget stays selected. Just drag again.
You can also arrange on the canvas in the DarkStage window without blacking out, which is handy when the display is across the room.
Widgets you can click
| Widget | On a blacked-out display |
|---|---|
| Button Panel | Click a button to fire it. Control-drag to move the panel. |
| Notepad | Click and type. Control-drag to move it. |
| Cutout | Clicks go through to the window behind. Control-drag to move it. |
| Plugin Meters | Hold Shift if Mouse Peek is on, so the overlay stays while you click the plug-in. |
On a Transparent display, clicks pass through to your apps, so buttons can't be pressed there. Use a blacked-out display or a WiFi Remote.
Options
Overlay Options
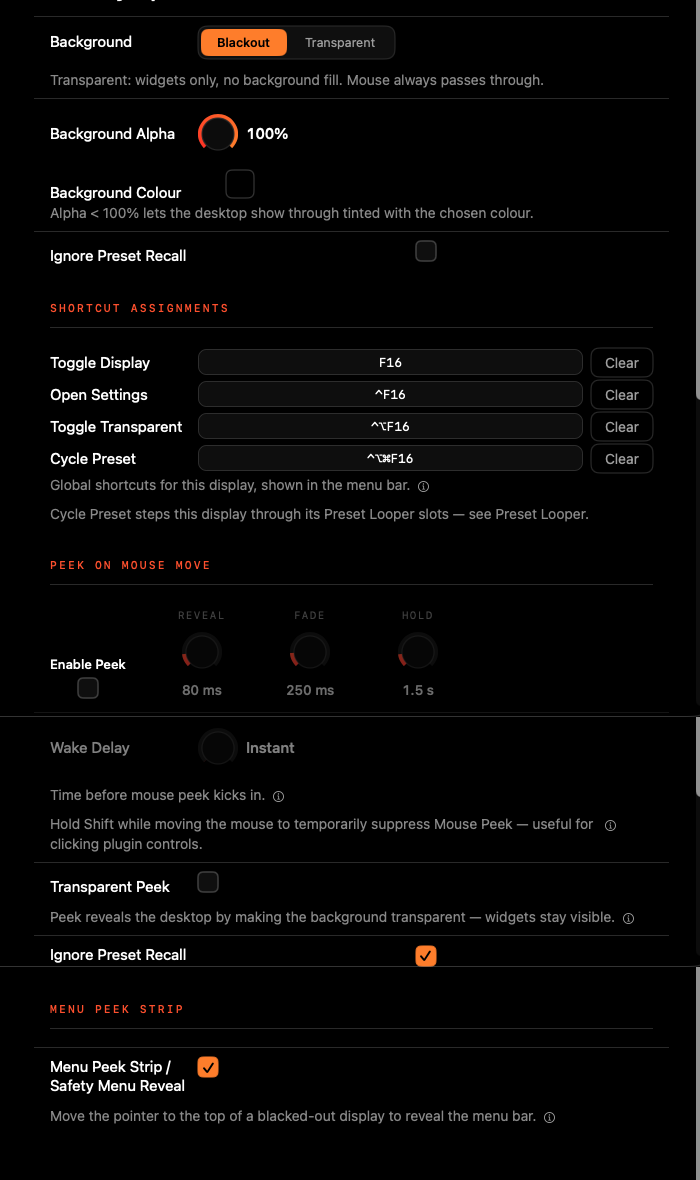
- Background: Blackout or Transparent, plus Background Alpha and Background Colour. Below 100%, the desktop shows through, tinted.
- Shortcut Assignments: this display's Toggle Display, Open Settings, Toggle Transparent and Cycle Preset keys.
- Peek on Mouse Move: turn on Enable Peek, then set Reveal (how fast it fades out), Fade, Hold (how long it stays away after you stop) and Wake Delay. Transparent Peek keeps widgets visible and clears only the background.
- Menu Peek Strip: move the pointer to the top of a blacked-out display to reveal the menu bar. It's your safety escape, so leave it on.
- Ignore Preset Recall: tick it beside a group to keep those settings when you recall a full overlay preset.
Use case
- A blacked-out screen you still need for plug-in windows: turn on Peek with Transparent Peek. Meters stay put while the plug-in window shows through, and Shift holds the overlay back when you want to click.
Mouse Options
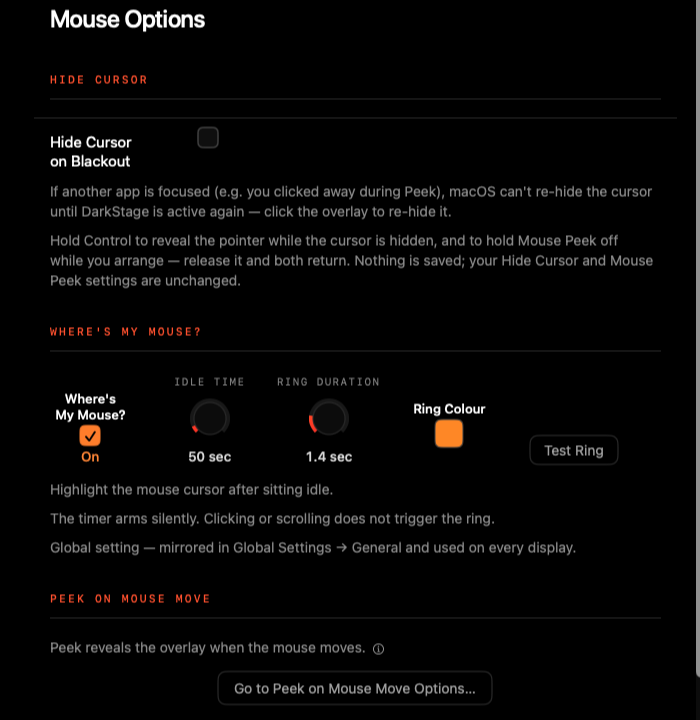
Two features that make blacked-out screens comfortable to work around. Both are preset-unaware: they apply everywhere, are never saved in a preset, and recalling a preset never turns them on or off.
Hide Cursor on Blackout
The pointer disappears the moment it crosses onto a blacked-out display, and comes back as soon as it leaves. There's no delay and no stray arrow sitting over your meters. It never hides on Transparent displays or while you're arranging.
- Hold Control (or Shift) to see the pointer for a moment.
- The pointer always comes back when the screen locks, the Mac wakes, displays change, or DarkStage quits.
- Lost it anyway? Press ⌃⌥⌘Esc to force it back.
Where's My Mouse?
After the pointer has sat still for the Idle Time, your next mouse movement flashes a ring around it, so you find it straight away across several dark screens. Clicking or scrolling never triggers it.
| Control | Default | Range |
|---|---|---|
| Where's My Mouse? | Off | On / Off |
| Idle Time | 30 sec | 5 sec – 10 min |
| Ring Duration | 1.1 sec | 0.5 – 5 sec |
| Ring Colour | DarkStage orange | any colour |
Click Test Ring to preview, even while it's off. The same controls also appear in Settings ▸ General.
Pick a ring colour that contrasts with your overlay. On an orange-heavy layout, white or cyan stands out best.
Preset Looper
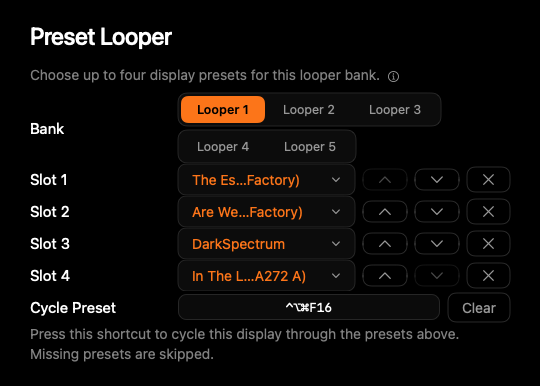
Five banks, each holding up to four full overlay presets. Press the Cycle Preset shortcut to step this display through them. Missing presets are skipped.
Use case
- Bank 1: Tracking → Overdubs → Mix. One key moves the room TV from a big counter to full metering.
Transport Colours
The colours used for Play, Record, Idle / Stopped and Armed by every transport-aware widget, with Smoothing for the change between them.
When your DAW is armed and rolling, the display alternates between Play and Record colours, exactly as the DAW reports it. That's intentional: it's a warning.
DAW Status / Follow
These widgets follow your DAW. Set it up first in Setup ▸ Connect your DAW.
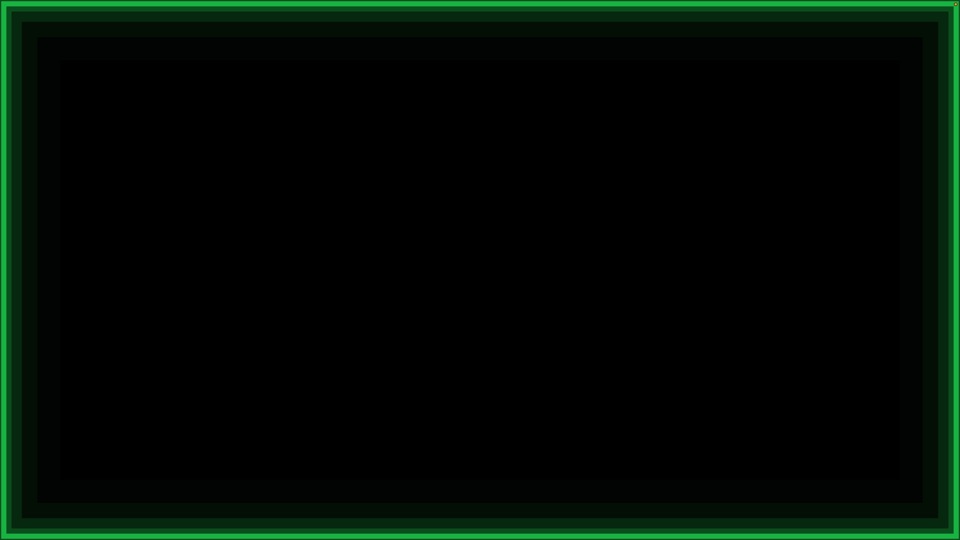
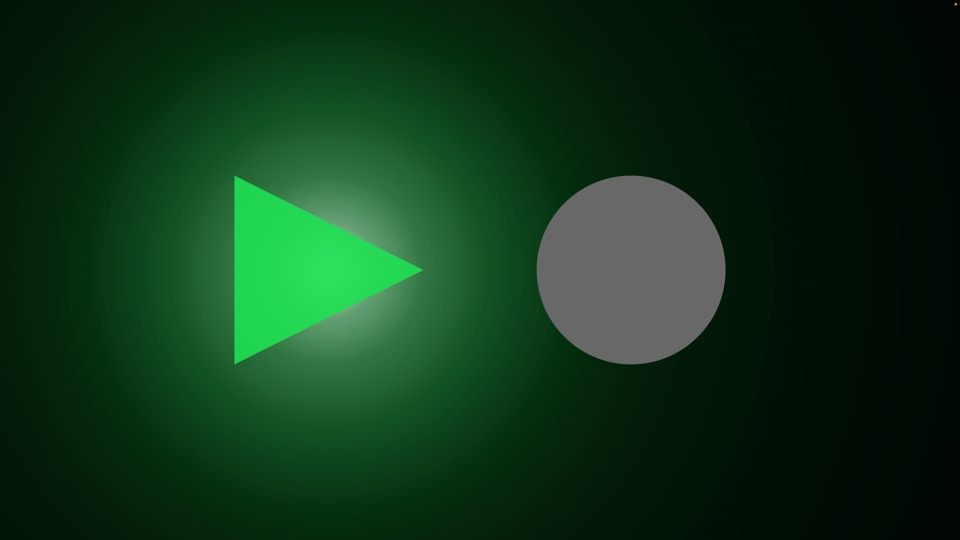
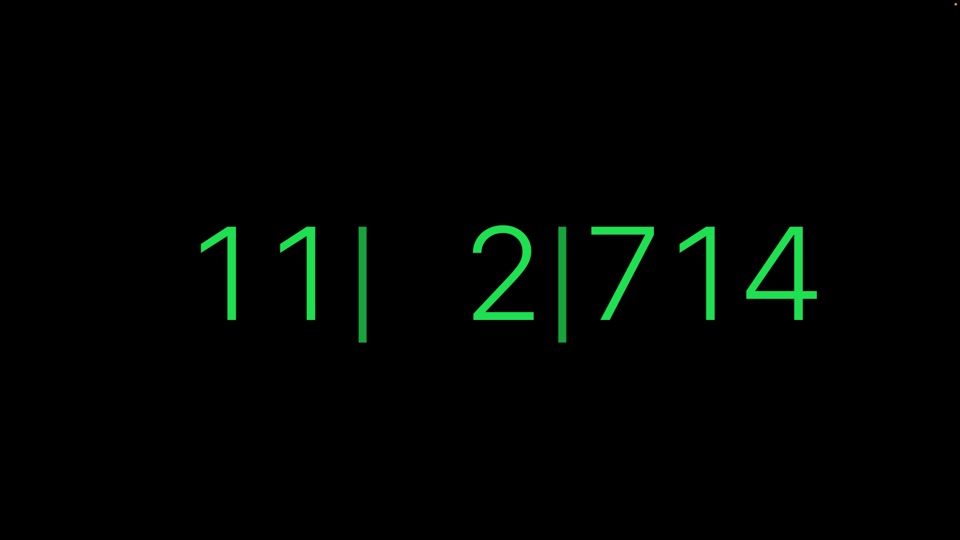
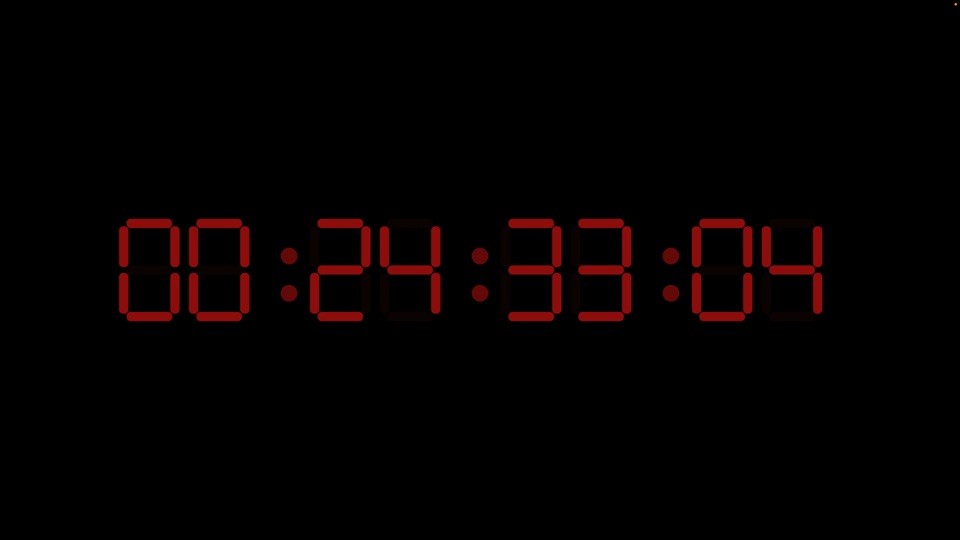
DarkStage MTC Receive.
Counter Format on the Counter page appears only for Ableton Live and REAPER, which don't tell DarkStage which counter they're showing.
Counter showing dashes? That means no DAW is connected yet. Check DAW Sync status in the menu bar.
Use cases
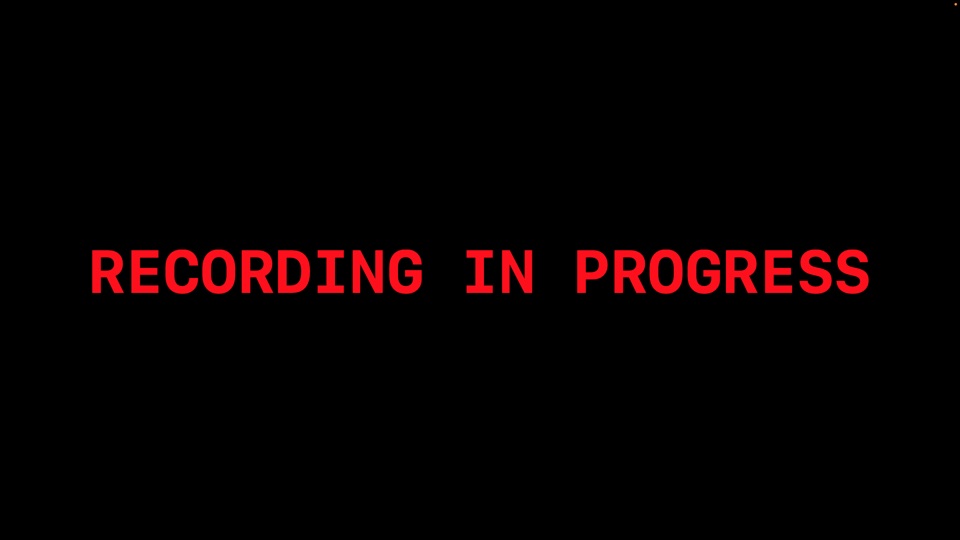
- Live room: Border plus Status Text reading QUIET — RECORDING in red, and TALK FREELY when stopped.
- Orchestral overdubs: a large bars:beats Counter and Metronome, so players can follow without a click.
- Post-production: SMPTE / MTC next to the picture monitor.
Meters
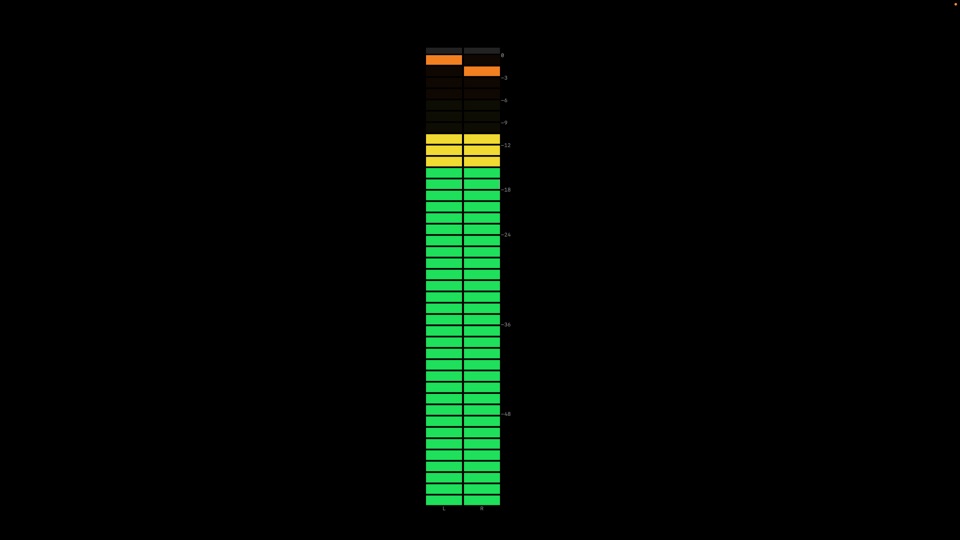
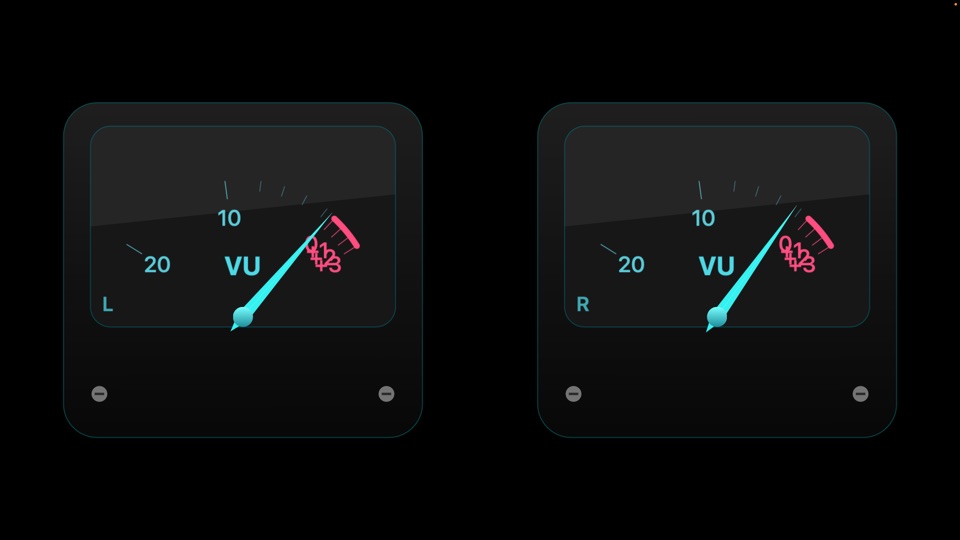
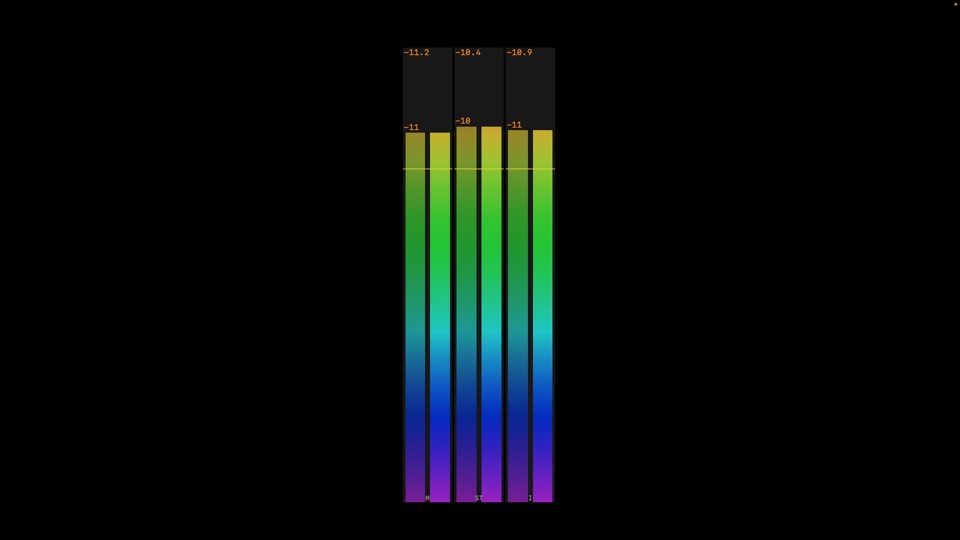
- PPM / VU: set the ballistics under Metering, the reference level under Scale & Reference, colour zones, peak hold, clip LED hold and numeric readouts. Clear clip LEDs with Clear Clip LEDs or from the menu bar.
- Needle VU: set the 0 VU Reference (RMS) to match your studio's line-up level, such as −18 or −20 dBFS.
- LUFS: pick a Target. Reset Mode On Transport Play (the default) starts Integrated afresh every time you press Play; Manual keeps counting until you press Reset Integrated LUFS Now.
A VU reference is an RMS level. A sine wave lined up by its peak reads about 3 dB lower. DarkStage's meters are aligned to the broadcast standards but not certified, and peak readings are sample peak, not true peak.
For a full song or programme, use Manual reset and play from the top. On Transport Play restarts the reading every time you stop and start.
Use case
- Delivering to streaming: a LUFS Meter with a −14 target next to a PPM set to sample peak. Add a second LUFS instance on Input B for the reference track.
Audio Spectrum
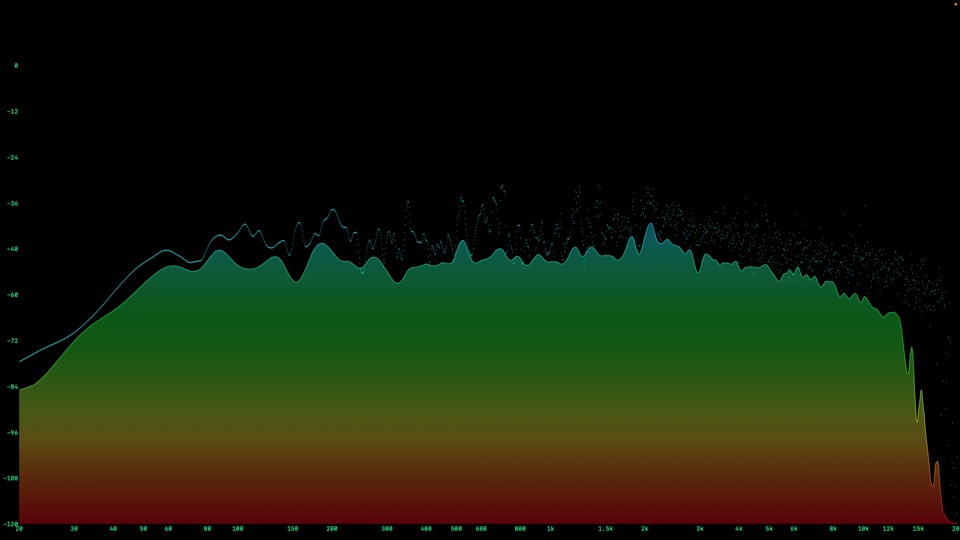
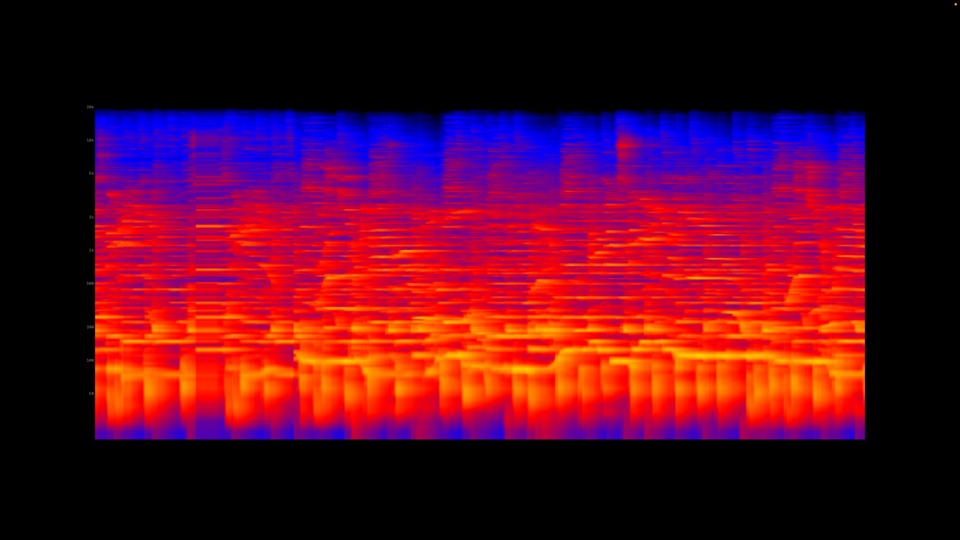
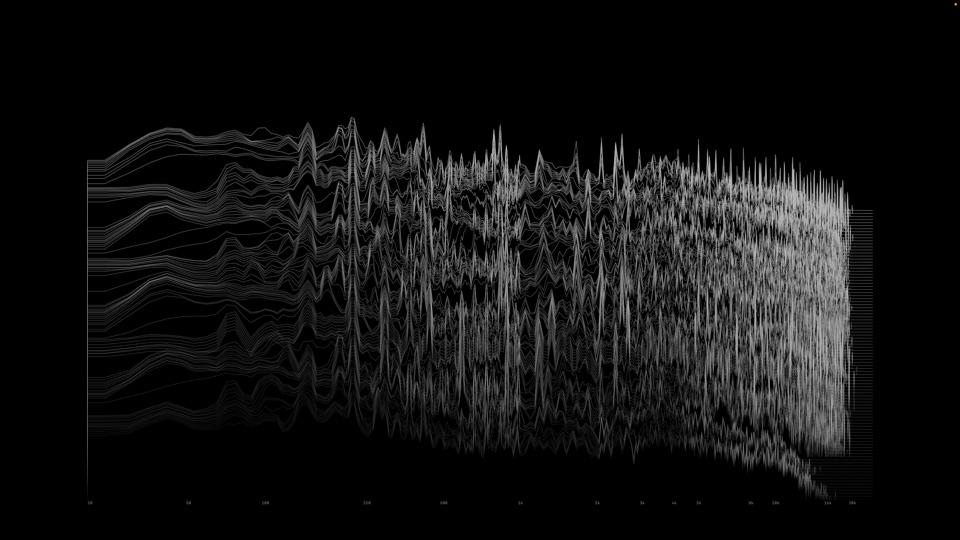
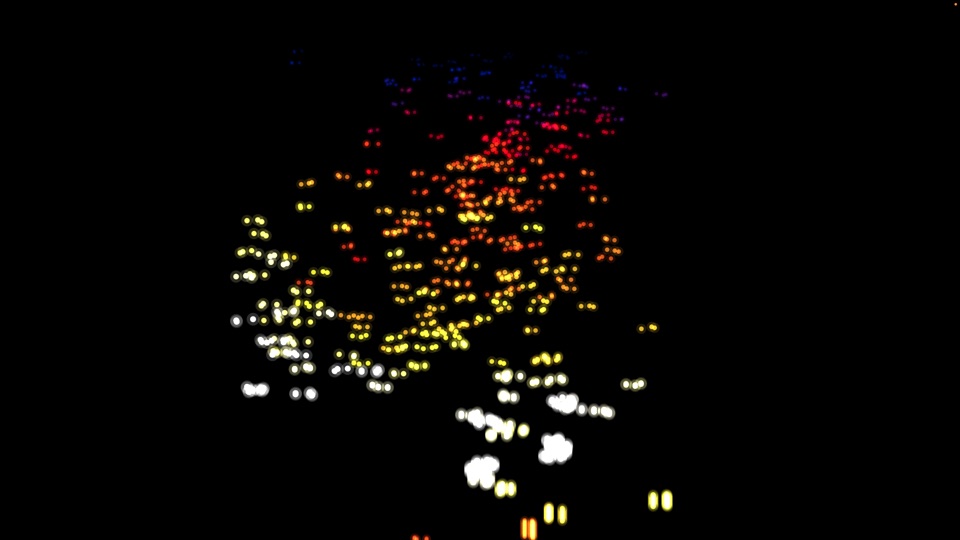
The spectrum shows the mid signal, (L+R)/2. Use the Spectrogram to spot a resonance that keeps coming back; it's easier to see over time than on a moving RTA.
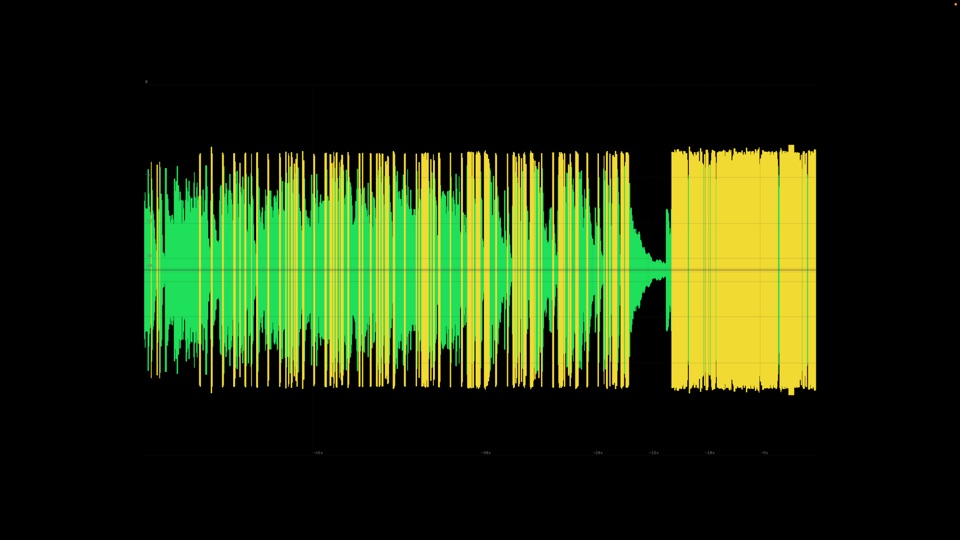
Waveforms
Phase
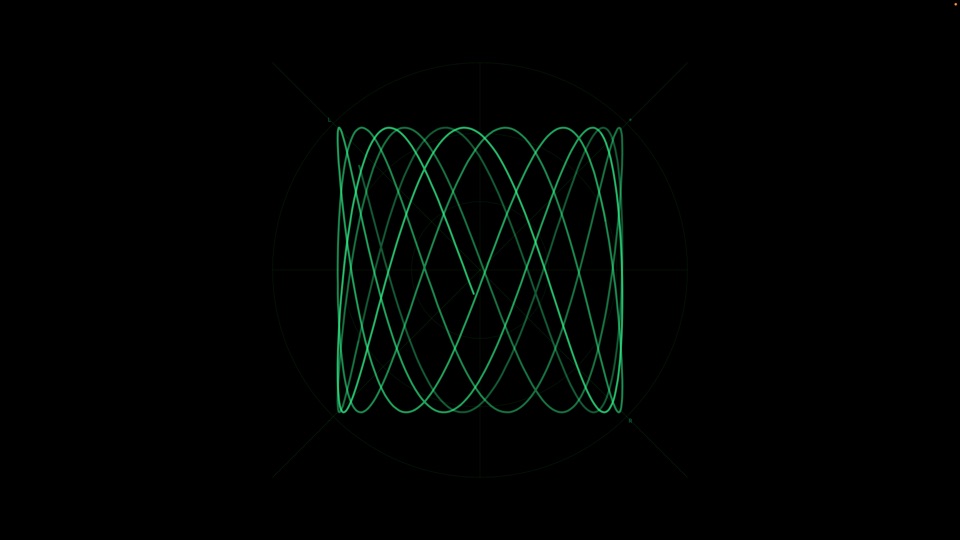
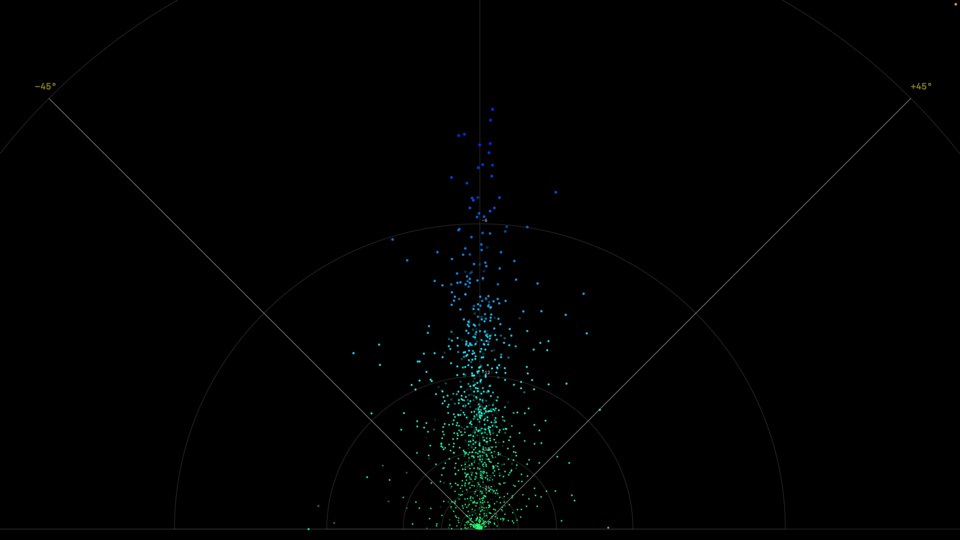
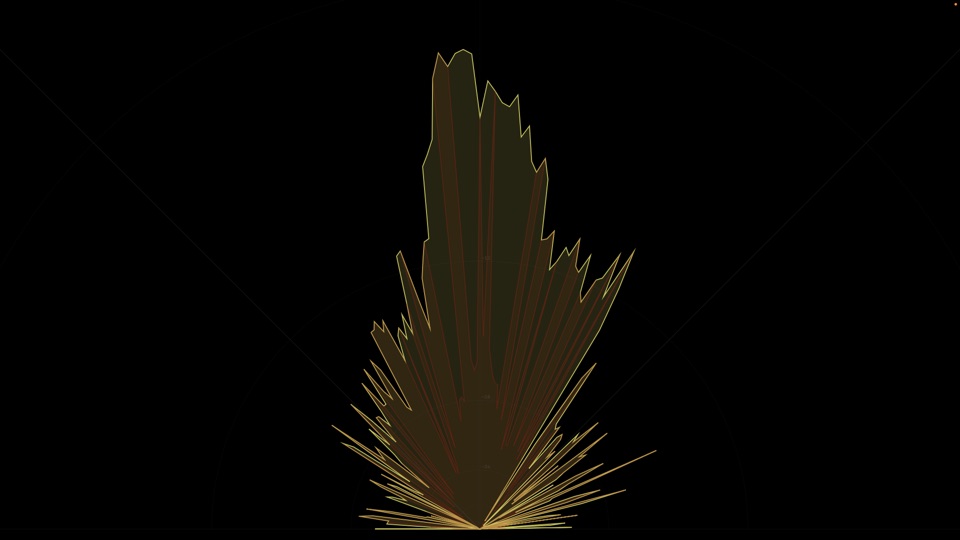
Use case
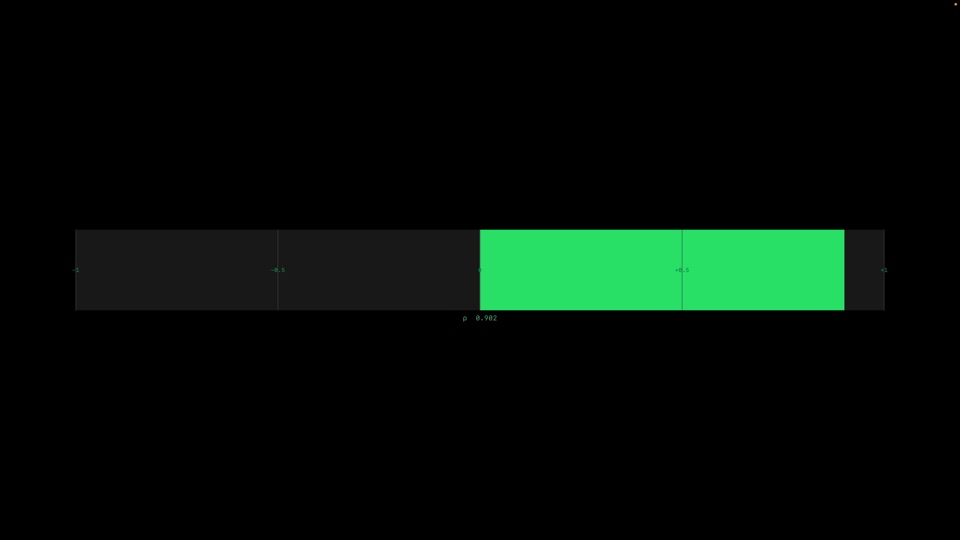
- Checking a stereo-widened mix for mono compatibility: watch the Correlation Meter through the choruses. If it dips below zero, check in mono.
Other and Visualiser
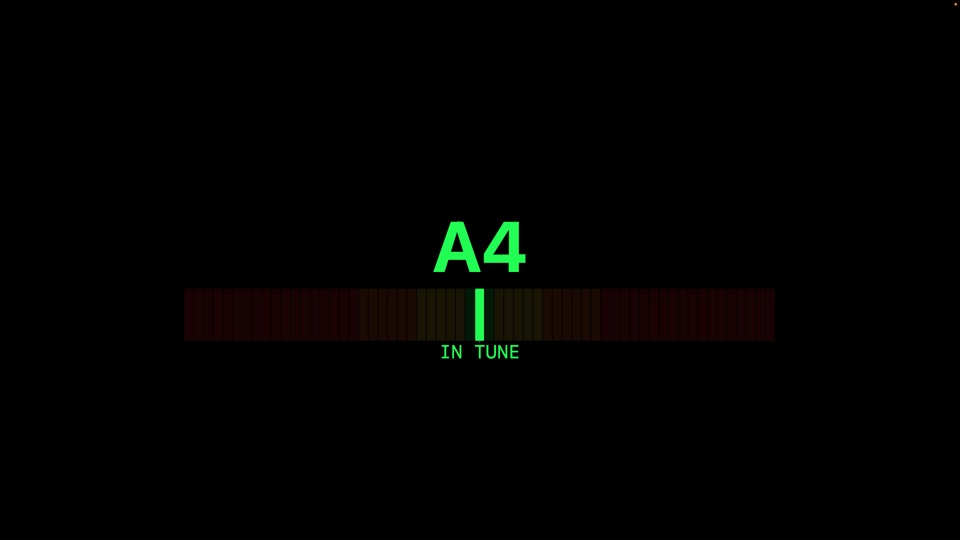
Visualiser draws a music-reactive backdrop behind every widget: Plasma, Ferro, Bubbles or Lava. It runs only while the display is blacked out.
A Visualiser on the client lounge TV with nothing else on it makes a great ambient screen that still reacts to the session.
Multichannel Audio
Two Meter Bridge widgets show many channels at once, up to 64, from the device chosen in Settings ▸ Multichannel Audio. Meter Bridge PPM shows bars; Meter Bridge VU shows one needle per channel.
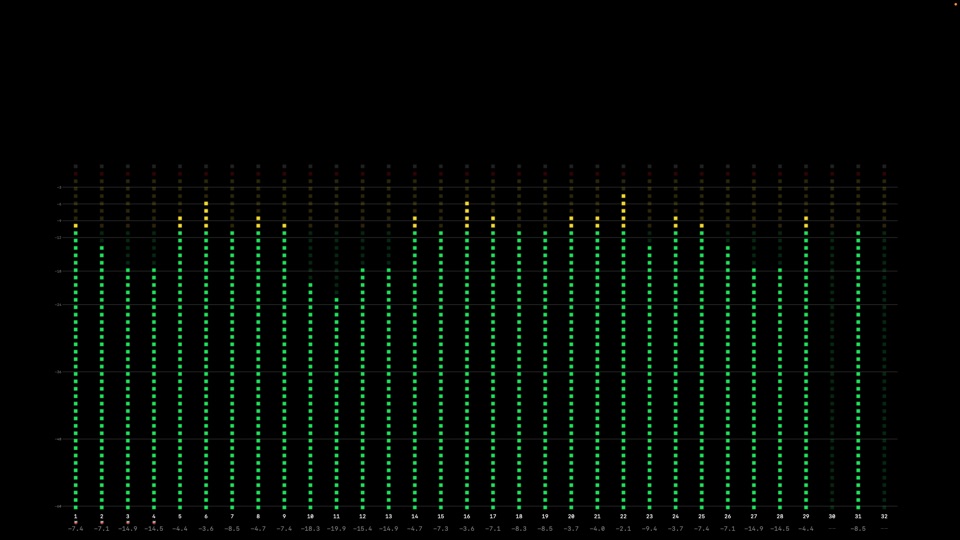
1. Choose the feed
In Settings ▸ Multichannel Audio, pick the device, then Choose Channels…. The channels you tick become Meter Bridge channels 1…N, in order.
2. Name and order the channels
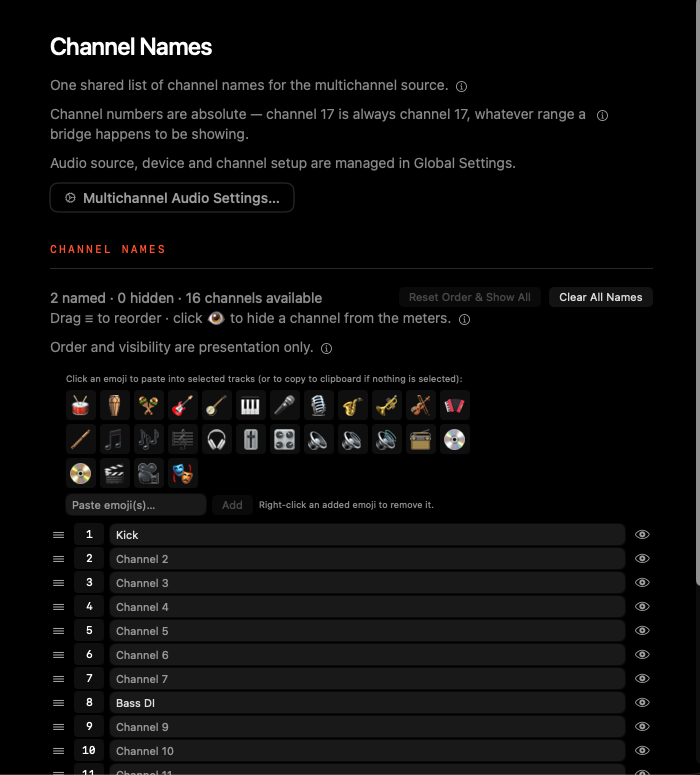
Channel Names is one list shared by every bridge on every display, so you name a channel once.
- Name: click a row's name and type, for example Kick or Bass DI.
- Add an emoji: select rows, then click an emoji (🥁 🎸 🎤…) to add it to every selected channel. ⇧-click selects a range, ⌘-click adds to the selection. Add your own emoji to the palette with Paste emoji(s)… and Add; right-click one you added to remove it.
- Reorder: drag the ≡ handle. This changes where a channel is shown, never which input it is.
- Hide: click the 👁 eye. The name, order and pairing are kept for when you show it again.
- Reset Order & Show All undoes reordering and hiding. Clear All Names removes every name.
Channel numbers are absolute: channel 17 is always channel 17, whichever range a bridge is showing.
3. Show the channels you want
Each bridge shows a window of channels: from its Starting Channel, for as many as its count. The window never wraps back to channel 1. Within it, your Channel Names order is applied and hidden channels are left out.
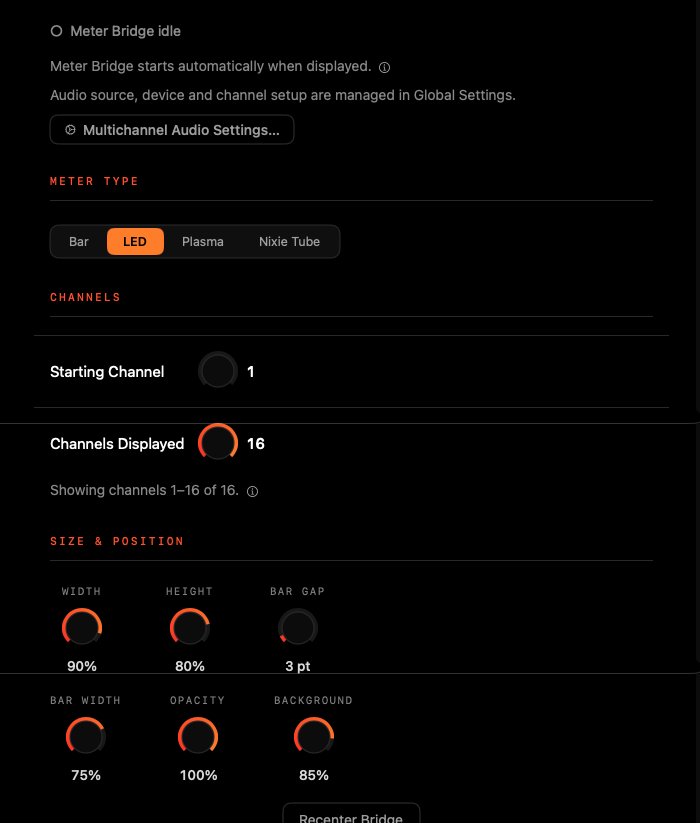
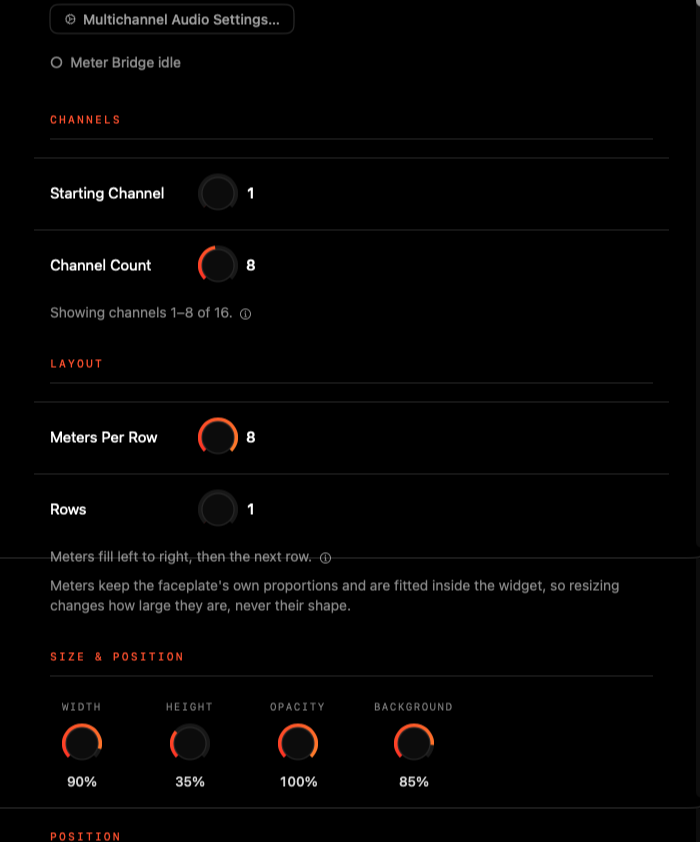
- Stereo Pairing (PPM bridge): click the 🔗 link icon, or ⌥-click a channel number, to pair it with the next channel so they share a meter.
- Meters Per Row and Rows (VU bridge) are linked, so no channel is ever left out.
- Use a PPM bridge and a VU bridge together on different ranges.
Use cases
- Drums on needles, the band on bars: Meter Bridge VU with Starting Channel 1 and Channel Count 8 for the kit, and Meter Bridge PPM with Starting Channel 9 and 16 displayed for everything else.
- One screen per section: on display 2, strings on channels 1–12; on display 3, brass on 13–24. Both use the same names.
- Hide the talkback: click its eye in Channel Names and it disappears from every bridge, without renumbering anything.
The bridge only runs while a Meter Bridge widget is showing, so leaving the device selected costs nothing.
AU Plugins
Plugin Meters (beta) shows a third-party Audio Unit meter's own interface on this display. See Plug-ins ▸ Plugin Meters.
Utilities
Cutout
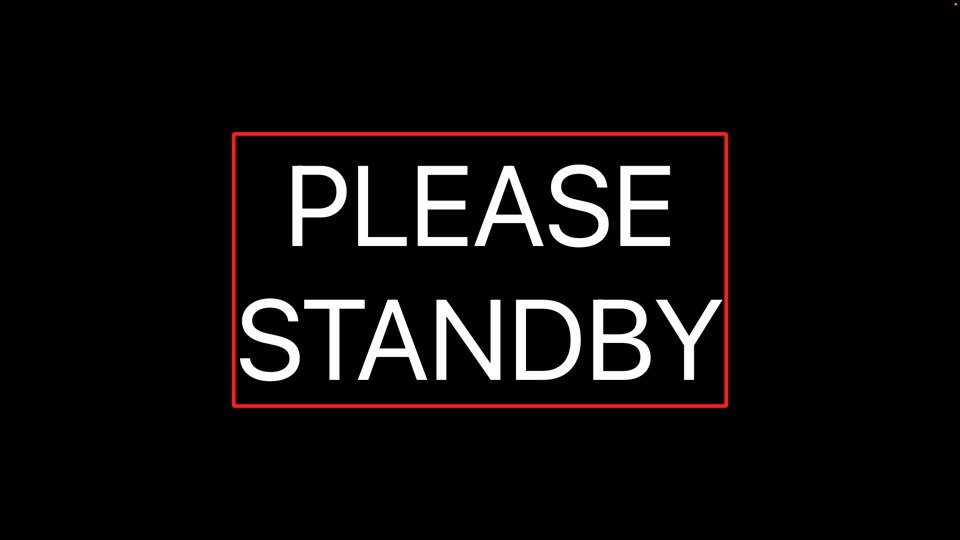
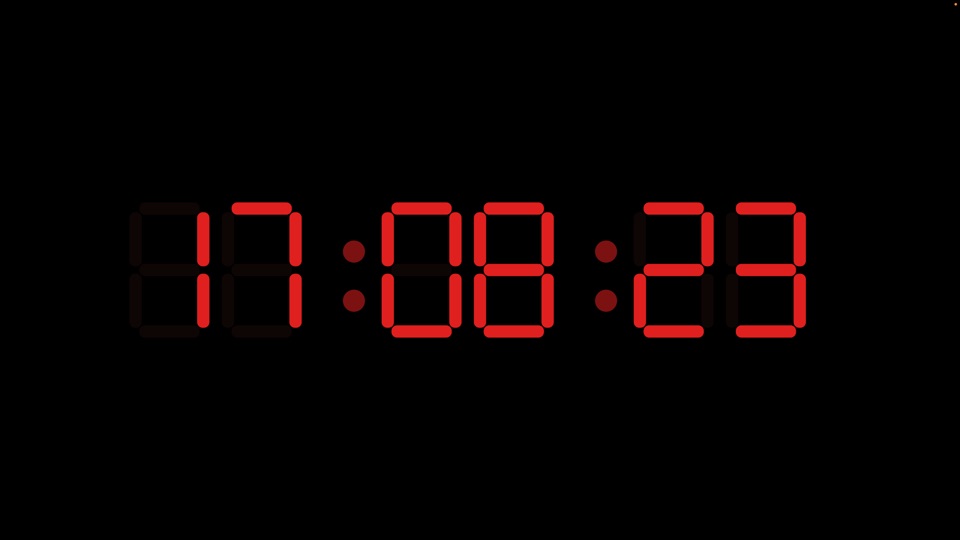
A see-through window in your blackout. DarkStage draws nothing inside a Cutout, so the real app window behind the overlay shows through, and your clicks inside it reach that app. Keep your DAW's edit window, a video, a plug-in or a web page in view while everything around it stays dark and full of meters. Nothing is captured or streamed; it's simply a hole.
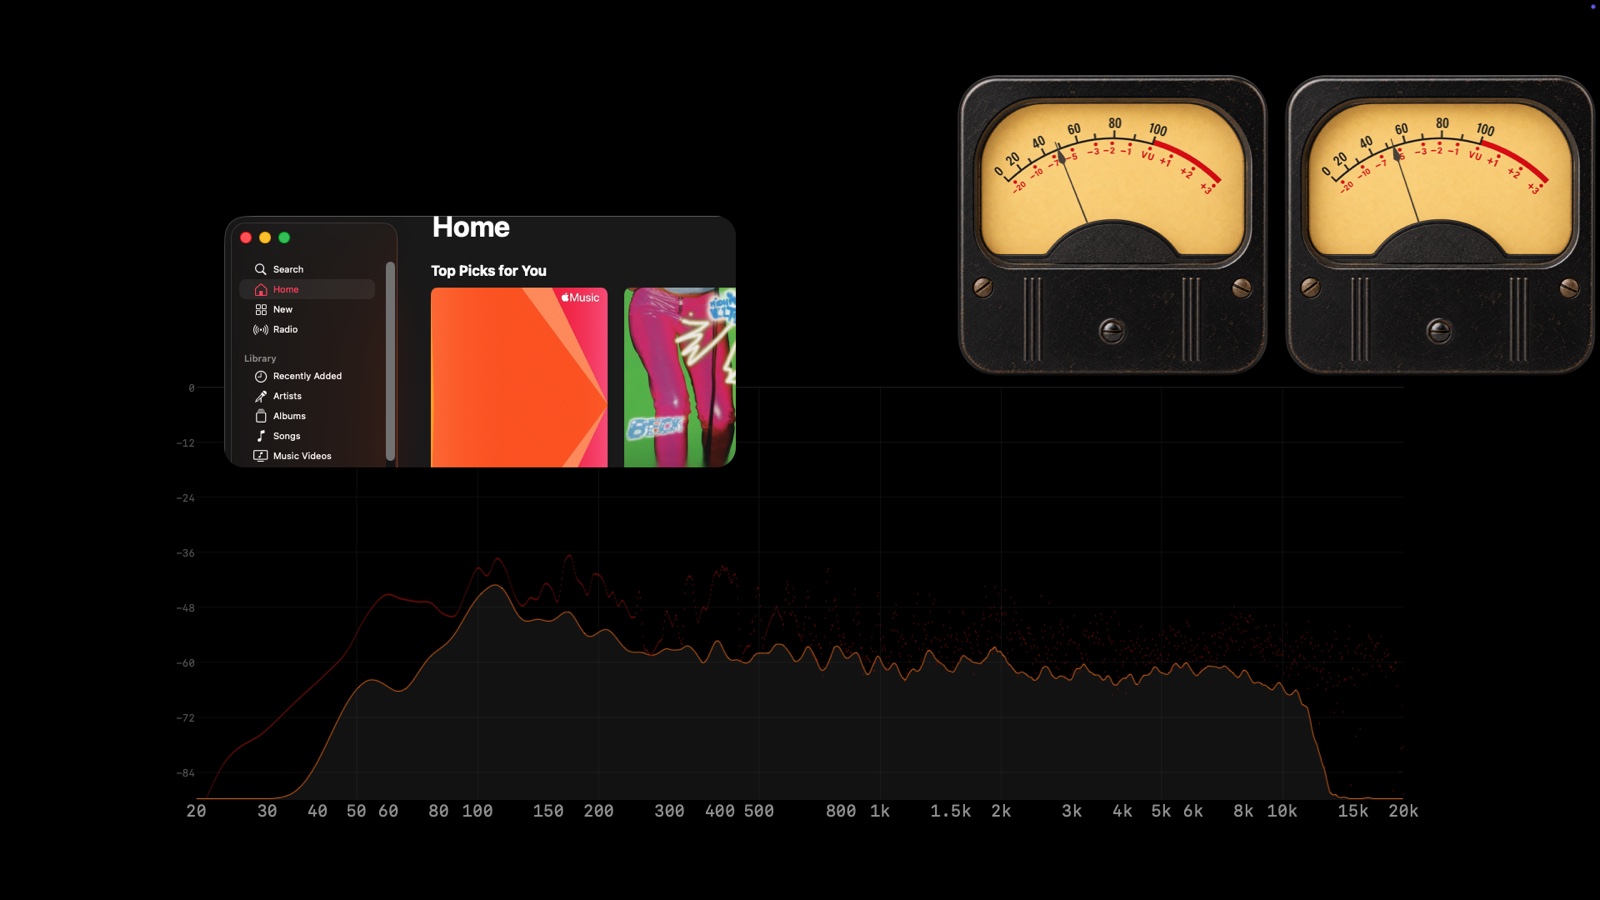
- In Utilities, open Cutout and click Add Cutout. A Cutout appears on the canvas and the widget switches on.
- Set its Width and Height. Move it by dragging it on the canvas, or Control-drag it on the blacked-out display.
- Under Target Window, choose the Application and Window you want to see. Status reads FOUND when DarkStage can see it.
- Click Position Window. The window moves and resizes to sit exactly under the Cutout.
- Black out the display. The window shows through, and you can click and type in it.
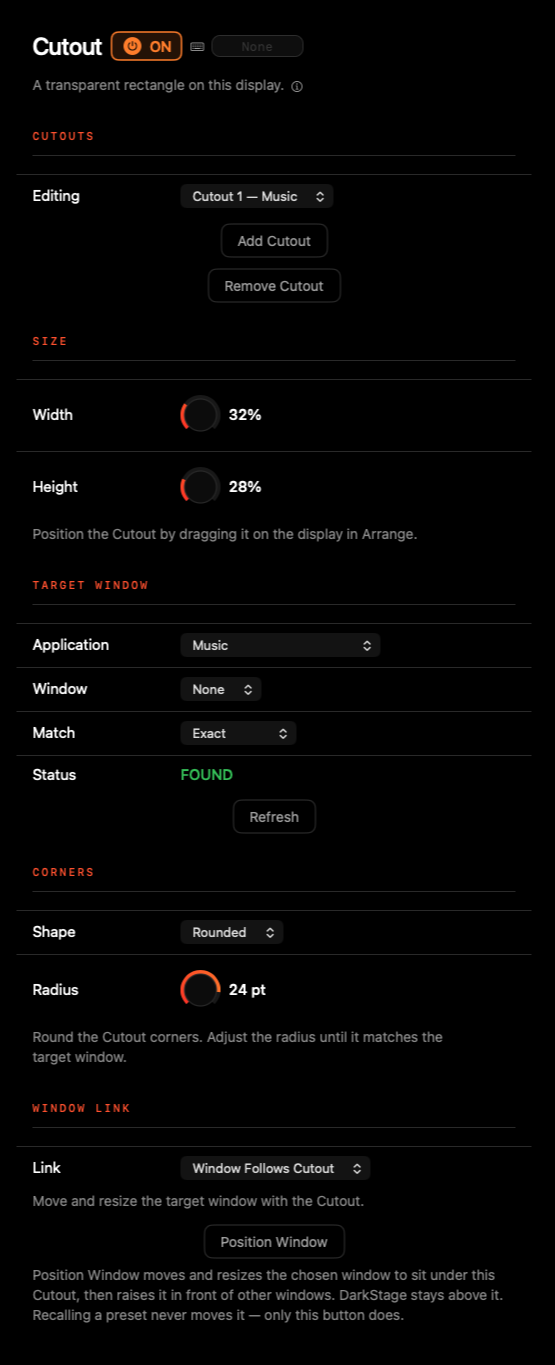
| Setting | What it does |
|---|---|
| Editing | Which Cutout you're adjusting. You can have up to 8 per display. Only the one selected here can be dragged, so choose it first. |
| Match | Exact, Contains or Starts With, for windows whose title changes, such as a DAW session name. Leave the title empty to match any window of that app. |
| Corners | Rounded (set the Radius to match the window's corners) or Square, the right choice for video. |
| Link: Window Follows Cutout | The default. Move or resize the Cutout and the window follows it. |
| Link: Cutout Follows Window | Move the app's window and the Cutout tracks it. |
| Link: Manual | Nothing moves on its own. Use Position Window when you want. |
Listing and moving other apps' windows needs Accessibility permission. Without it the Cutout is still see-through; you just place the window yourself.
Recalling a preset never moves your windows. After recalling one, click Position Window to snap the target back into place.
If the Status says the app clamped the size, that app has a minimum window size. Make the Cutout a little larger, or choose Square corners so the edges line up.
Use cases
- Mixing: black out the mix screen but cut out the DAW's edit window. Your eyes stay on the timeline, surrounded by meters.
- Mix to picture: a Square Cutout over the video player, with SMPTE and LUFS beside it.
- Remote sessions: keep the video call window visible in a Cutout while the rest of the screen shows the transport.
Image
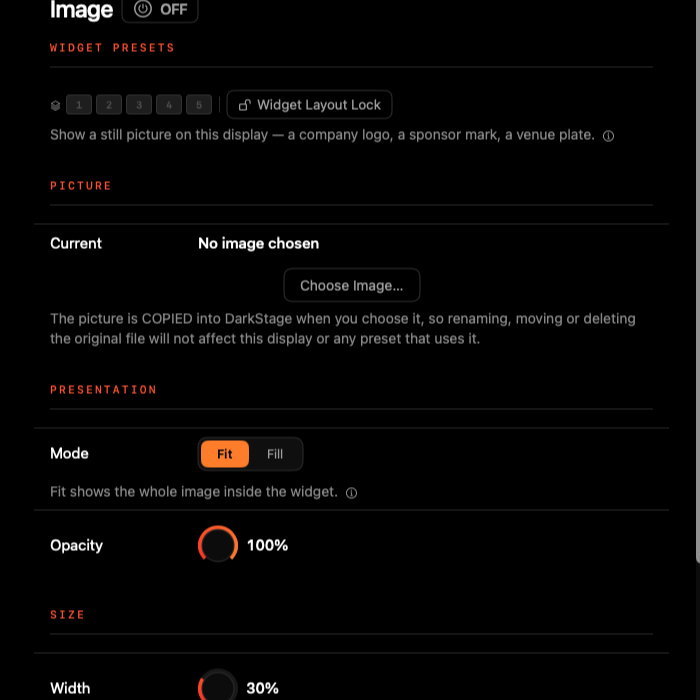
Show a still picture: a studio logo, a sponsor mark, an artist's artwork or a room plate.
- Open Image and click Choose Image…. PNG or JPEG, up to 64 MB. The widget switches on.
- Choose Fit (shows the whole picture) or Fill (covers the widget and crops the overflow). Neither stretches the picture.
- Set Opacity, Width and Height, then drag it into place.
- The picture is copied into DarkStage, so moving or deleting the original file doesn't break the display or any preset using it.
- Transparent PNGs stay transparent, so a logo sits cleanly on the black.
- The Image always sits behind other widgets, so you can use it as a backdrop.
- Use Replace Image… or Remove Image to change it. Images also work on WiFi Remotes.
Put the artist's artwork on the live room TV at 30% opacity behind a big Counter. It personalises the session at no cost.
Notepad
Notes on screen, with New, Open…, Save and Save As…. On a blacked-out display, click in the note to type; Control-drag to move it.
Use case
- Lyrics, a cue list or the session checklist on the vocal booth screen, edited live from the control room.
Controls: Button Panel
A grid of illuminated buttons on the overlay or on a WiFi Remote. Buttons can run your DAW's transport, fire keyboard shortcuts, type text, or run a sequence of steps.
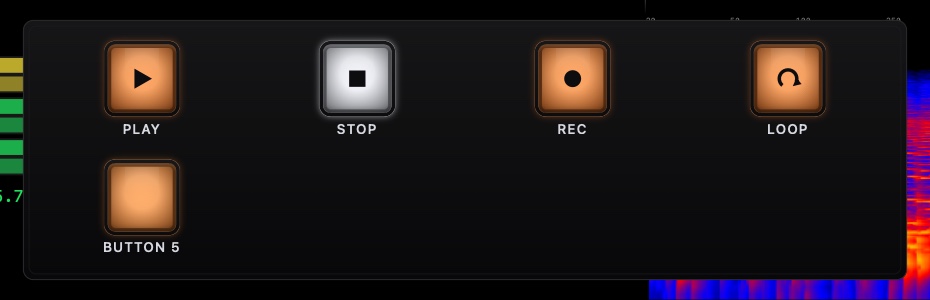
Two kinds of button
| DAW Aware buttons | Shortcut buttons | |
|---|---|---|
| Add with | Add DAW Button… | + Add Button |
| Does | A DAW command (Play, Stop, Record, Loop, Rewind, Return to Zero…) that follows whichever DAW is chosen in DAW Sync | Your own keyboard shortcut, typed text, or a sequence of both |
| Needs the app in front? | No. The command goes straight to the DAW | Yes. Keys go to the front application |
| Lamp | Lights from the DAW's real state (Pre-Illuminated or Orange Standby) | Off, On or Momentary |
DAW Aware buttons use each DAW's factory commands. If you've customised your DAW's key commands, DarkStage can't see that, so use Shortcut buttons for custom commands.
Add DAW buttons
- Choose your DAW in Settings ▸ DAW Sync.
- Click Add DAW Button… and pick commands from the list. Or start from the factory Transport widget preset.
- Optionally add an After DAW Action step, such as a shortcut that runs after the command.
Add a shortcut or text button
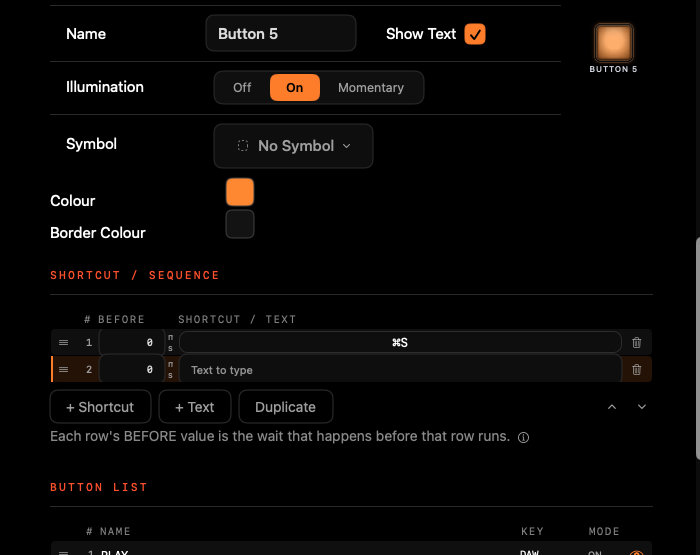
- Click + Add Button. It appears in the Button List and opens in Edit Button.
- Give it a Name, a Symbol and a Colour, and choose Illumination: Momentary lights while pressed, On latches, Off never lights.
- Under Shortcut / Sequence, click the shortcut field (it shows Press keys…) and press the key combination, for example ⌘S.
- Add more steps with + Shortcut or + Text. Each row's BEFORE value is a pause in milliseconds before that step runs.
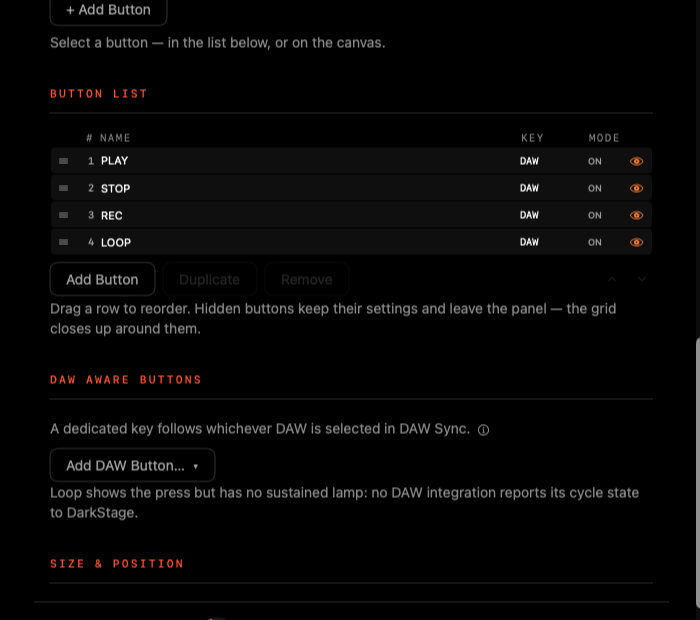
- Button List: drag rows to reorder, click the eye to hide a button (it keeps its settings), and use Duplicate or Remove. Right-click a row or a button on the canvas for the same options.
- Layout: Columns, Rows, Button Size and Spacing. Appearance: background, Glow Intensity, labels and symbol size.
- Recenter Button Panel brings it back if it ends up off screen. You can have two panels per display.
Shortcut and text buttons need Accessibility permission. Without it, buttons still light up but send nothing.
On a blacked-out display, click a button to fire it; Control-drag to move the panel without pressing anything.
A sequence with pauses automates repetitive jobs: Save → wait 500 ms → Bounce → type the file name → Return.
Use cases
- Transport on an iPad: the Transport preset on a WiFi Remote at the drum kit, so the drummer can drop in without walking to the Mac.
- Session macros: buttons for Save, New Playlist and Tab to Transient.
- Typed notes: a button that types a marker name such as Verse 2 — take 3.