DarkStage Manual
DarkStage Manual
DarkStage turns any screen into a studio monitoring surface — meters, analysers and your DAW's transport and counter, drawn over a blacked-out display. It never sits in your audio path.
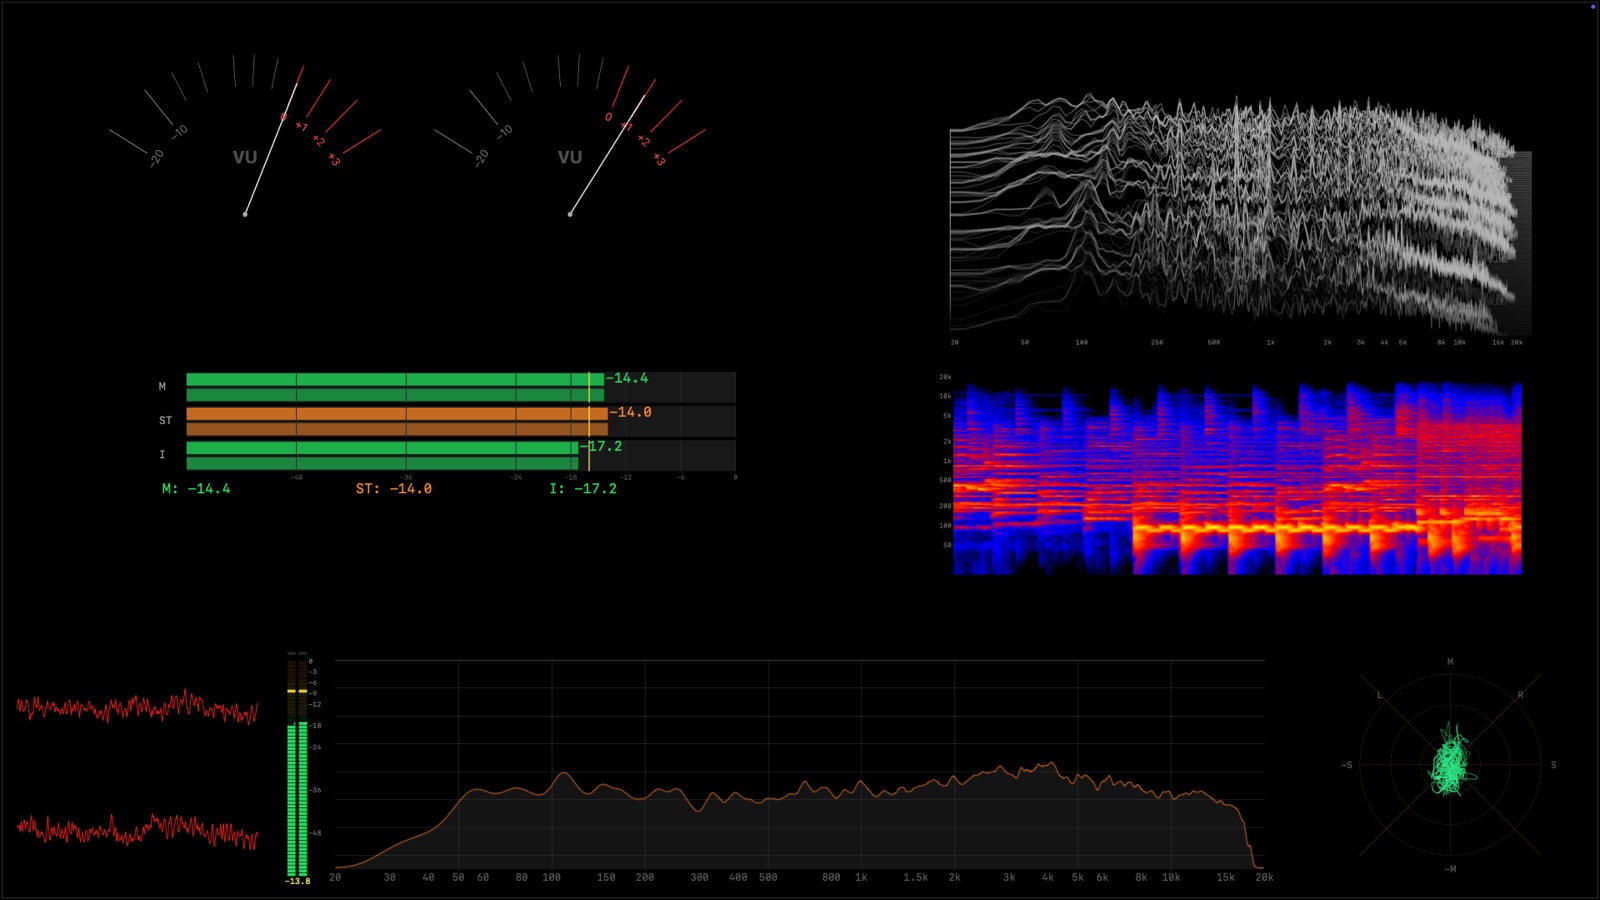
How DarkStage works
- It lives in the menu bar. Click the DarkStage icon (a thin red frame) to show or hide an overlay, or to open the app window.
- Each display has its own overlay. What you switch on for a display is exactly what that display shows.
- It listens, it doesn't process. DarkStage analyses one audio source you choose and draws what it hears.
- It follows your DAW. Pro Tools, Logic Pro, Cubase, Ableton Live, FL Studio and REAPER can drive the transport, counter and timecode widgets.
The app window
Everything is set up in one window with four tabs. Open it from the menu bar, or press F13. Press it again to close it.
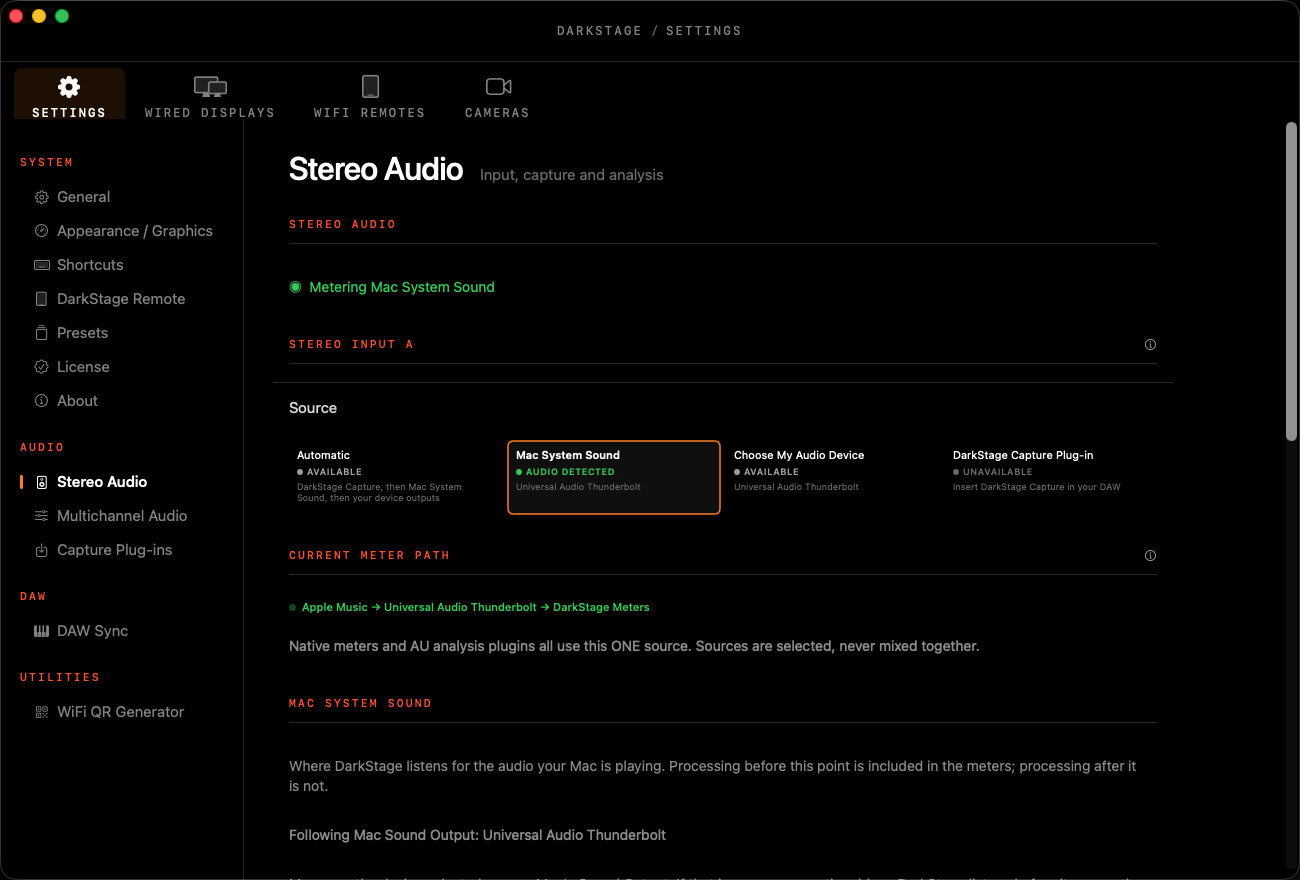
SettingsApp-wide choices: audio source, DAW Sync, shortcuts, presets, licence.
Wired DisplaysBuild the overlay for each connected screen, one widget at a time.
WiFi RemotesPut a record light or counter on an iPad or any browser.
CamerasRoom cameras. Coming in a future build.
Where to start
- Run Setup — permissions, audio source and DAW Sync.
- Open Wired Displays, switch on a few widgets and black out the display.
- Want the counter and transport to follow your session? Follow the guide for your DAW in DAW Setup.
- If your DAW adds room correction or monitor processing, read Plug-ins.
Default shortcuts
These work even when DarkStage isn't the front app. You can change all of them in Settings ▸ Shortcuts.
| Keys | Action |
|---|---|
| F13 | Show / hide the app window |
| F16 F17 F18 F19 | Show / hide the overlay on displays 1–4 |
| ⌃F16 – ⌃F19 | Open that display's settings |
| ⌃⌥F16 – ⌃⌥F19 | Switch that display between Blackout and Transparent |
| ⌃⌥⌘F16 – ⌃⌥⌘F19 | Step through that display's Preset Looper |
| ⌃F13 | Edit the WiFi Remote layout |
| ⌃⌥⌘Esc | Emergency: bring the mouse pointer back |
No F13–F19 keys on your keyboard? Record a different key combination in Settings ▸ Shortcuts. A compact keyboard works fine.
Keys worth remembering
| Hold | On a blacked-out display |
|---|---|
| Control | Show the pointer, hold Mouse Peek off, and drag buttons, notes or Cutouts without triggering them |
| Shift | Keep the overlay in place while you move the mouse, for example to click a plug-in meter |
More in Arranging widgets.